
Hanging your artwork is a very important task to do. You have invested a lot of money, and you want to enjoy it, and you are worried about whether the nail will hold it up or the sun will fade your new artwork. Never hang your artwork in the afternoon sun, as the sun is very powerful and will fade your print or canvas.
If the artwork is heavy, use a solid screw or nail, and find a beam or anchor.
Best Practices for Hanging Art on a Wall
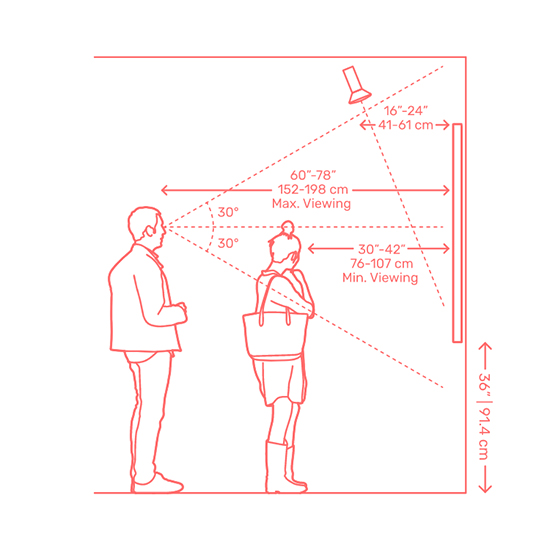
1. Ideal Placement for Wall Art
The most reliable guideline is the 57-inch rule — placing the center of the artwork at 57 inches (145 cm) from the floor. This aligns with average eye level and is used by many galleries.
Key placement principles:
- Eye‑level viewing — Center of the piece between 57–60 inches depending on ceiling height.
- Proportion to wall size — Large walls benefit from larger pieces or grouped arrangements; small walls look best with single, modestly sized works.
- Furniture alignment — When hanging above furniture, keep the bottom of the artwork 6–10 inches above the top of the furniture.
- Room purpose — Formal rooms often use symmetrical arrangements; casual rooms benefit from varied spacing and mixed sizes.
2. Avoiding Afternoon Sun Exposure
Direct sunlight is one of the biggest threats to artwork — especially photography, watercolor, and textiles.
What afternoon sun does:
- UV fading — Colors lighten or shift over time.
- Heat warping — Canvas, wood frames, and adhesives can distort.
- Glare — Makes viewing difficult and reduces visual impact.
How to avoid it:
- Choose walls opposite west‑facing windows — Afternoon sun comes from the west.
- Use UV‑blocking glass or acrylic — Museum‑grade glazing blocks up to 99% of UV.
- Install sheer curtains or solar shades — Reduces intensity without darkening the room.
- Avoid hanging art in sun corridors — Entryways or hallways with strong directional light.
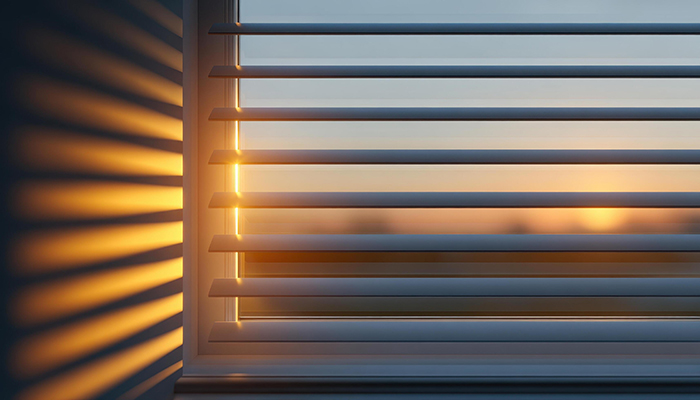
Avoid Bright Sun
3. Tools Needed for Hanging Art
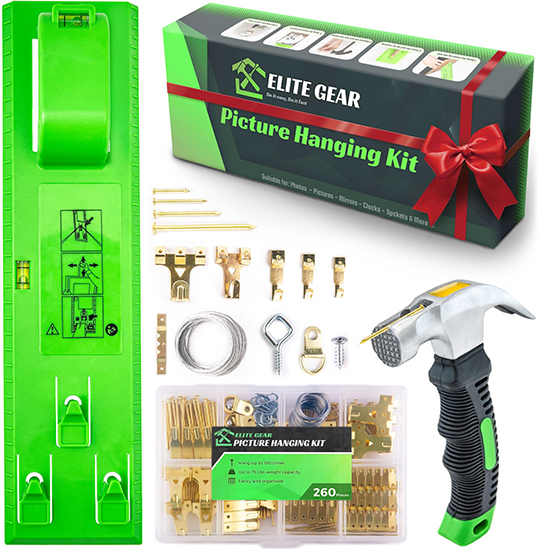
Every reliable art‑hanging setup uses a few essential tools:
-
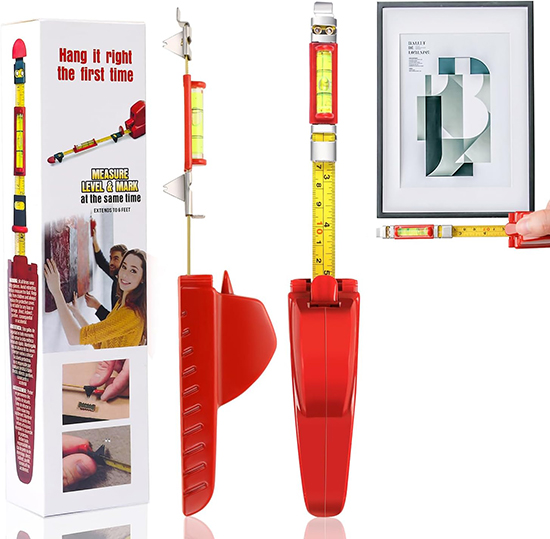
Measuring tape — For height, spacing, and alignment.
-
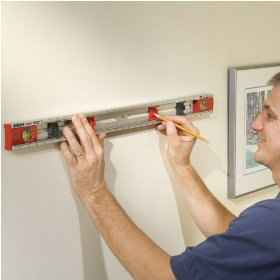
Level — Ensures the piece hangs straight.
-
Pencil — For temporary marks.
-
Hammer — For nails or hangers.
-
Stud finder — Optional but helpful for heavy pieces.
-
Screwdriver — For anchors or screws.
-
Painter’s tape — Great for layout planning.
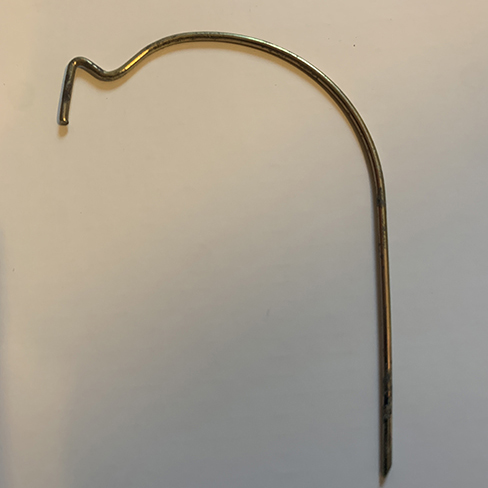
4. Best Types of Art Hangers
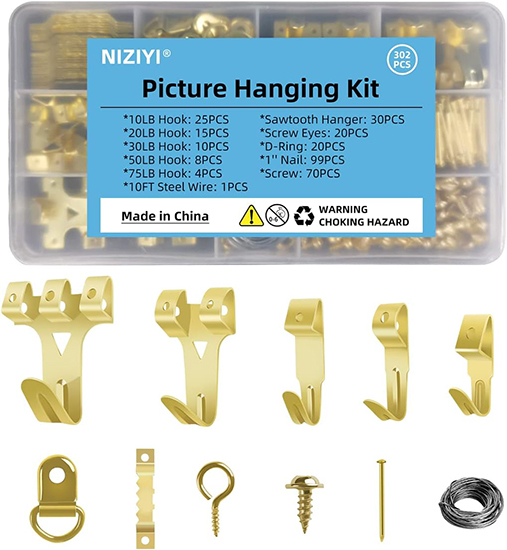
Below is a comparison of the most common and reliable hanging systems:
| Hanger Type | Best For | Weight Capacity | Pros | Cons |
|---|---|---|---|---|
| Standard Nails | Light frames | 5–20 lbs | Easy, cheap | Can loosen over time |
| Picture Hooks | Most framed art | 10–100 lbs | Stable, angled for strength | Requires precise placement |
| Command Strips | Renters, no-damage walls | Up to 16 lbs | No holes, removable | Not ideal for humidity or textured walls |
| Wall Anchors | Heavy art, mirrors | 25–75+ lbs | Very strong | Requires drilling |
| French Cleats | Large/heavy pieces | 50–200+ lbs | Extremely secure | More installation time |
| Gallery Hanging Systems | Professional displays | Variable | Flexible, adjustable | Visible rails (unless recessed) |
5. Summary of Best Practices
-
Hang art at 57–60 inches center height.
-
Avoid west‑facing walls or use UV‑protective glazing.
-
Use proper tools: level, tape measure, hammer, anchors.
-
Choose hangers based on weight and wall type.
-
For valuable art, consider museum‑grade glass and professional hanging systems.
Hopefully this helps you hang your new artwork. You can do it yourself or hire a contractor, someone who does home repairs.
Cheers John